Monday, October 31, 2011

Perfect Chocolate Chip Cookies

I've been wanting to try my hand at more baking projects and while there are literally hundreds of possibilities this one had several things going for it.  Everyone loves chocolate chip cookies.  I had all necessary ingredients in my pantry.  Barely.  I was scraping the bottom of the flour container, the sugar bowl, and the butter dish.  But I made it.

Plus, who am I to argue with perfection?  (Disclaimer: This is not my tag line but the name of the recipe on the website on which it was found - Sweet Pea's Kitchen.)

Recipe:
1 3/4 cups unbleached all-purpose flour
1/2 teaspoon baking soda
14 tablespoons unsalted butter, divided
1/2 cup granulated sugar
3/4 cup packed dark brown sugar
1 teaspoon table salt
2 teaspoons vanilla extract
1 large egg
1 large egg yolk
1 1/4 cups semi-sweet chocolate chips

1. Heat oven to 375 degrees.  Line two baking sheets with parchment paper. (In the absence of parchment paper, I sprayed the baking sheets with cooking spray.  It worked.)

2. In a medium bowl, whisk together the flour and baking soda; set aside.

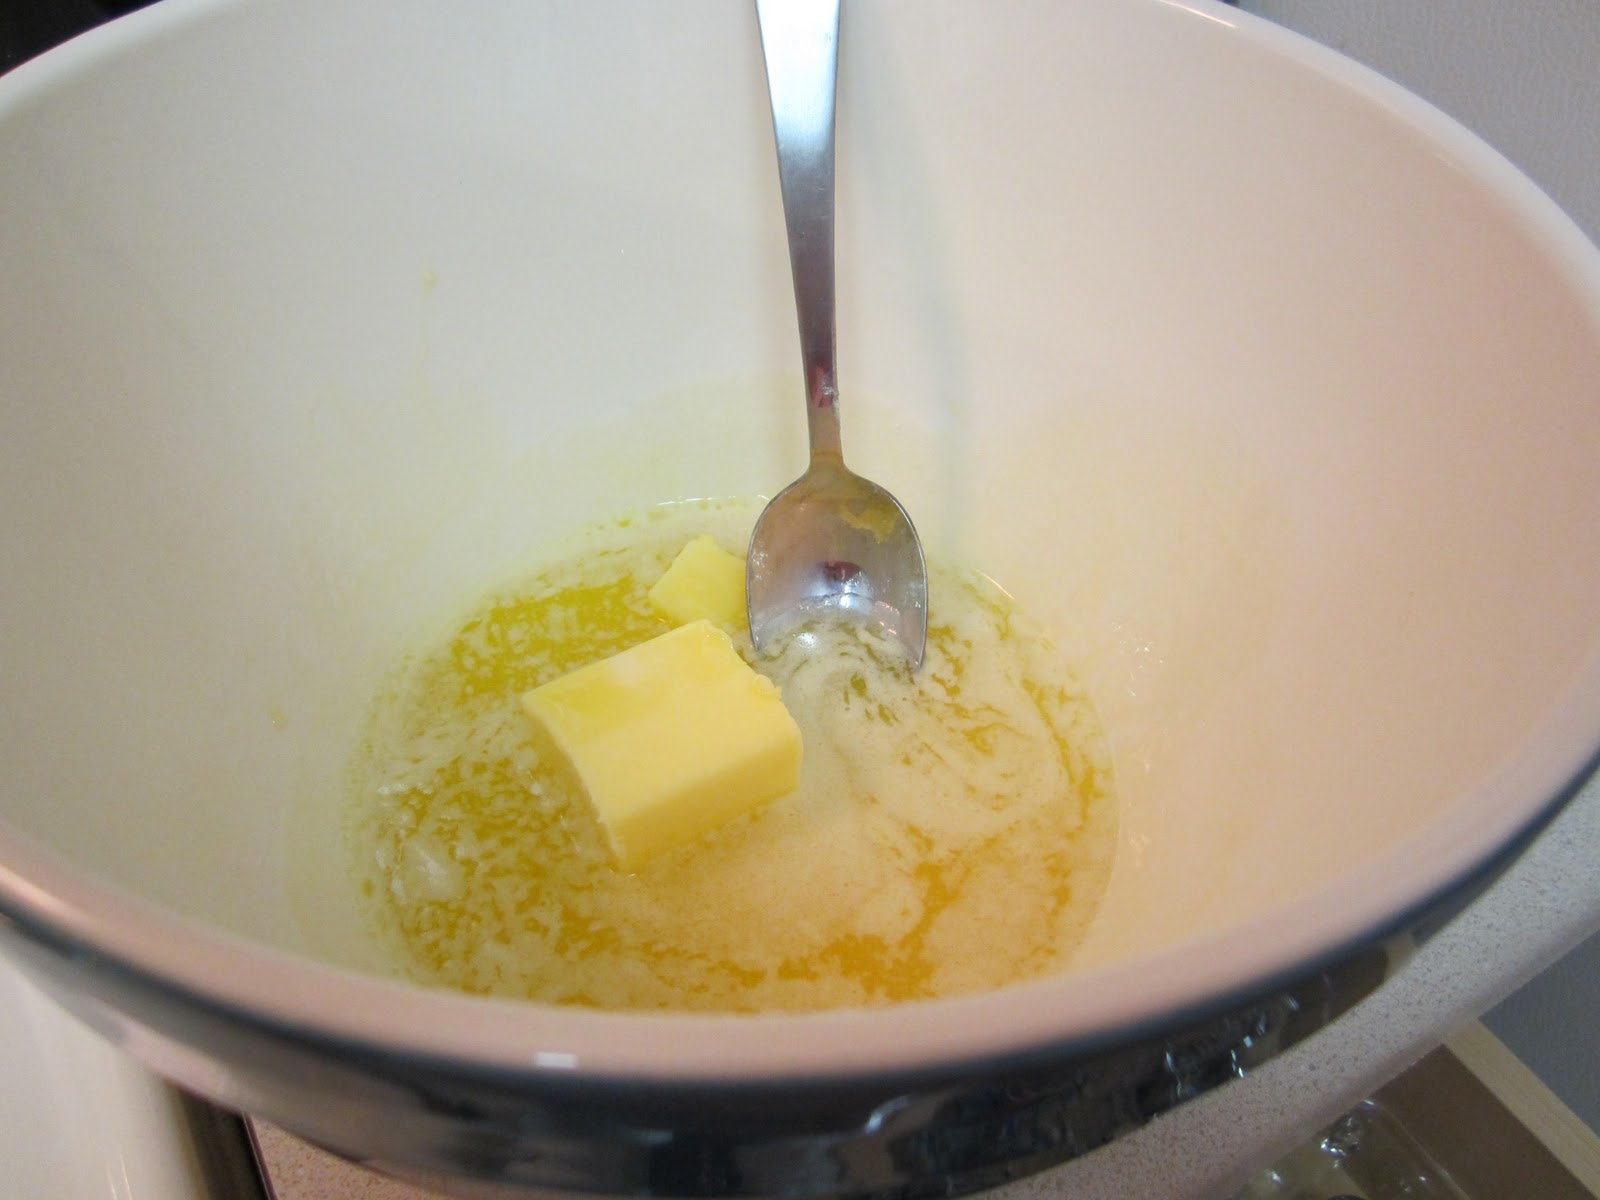
3. In a 10-inch skillet over medium heat, melt 10 tablespoons of butter.  Continue cooking, swirling constantly, until butter is golden-brown in color and has a nutty aroma, about 1-3 minutes.  Remove butter from heat and add to heat proof bowl.  Add remaining butter to hot butter and stir until all butter is melted.


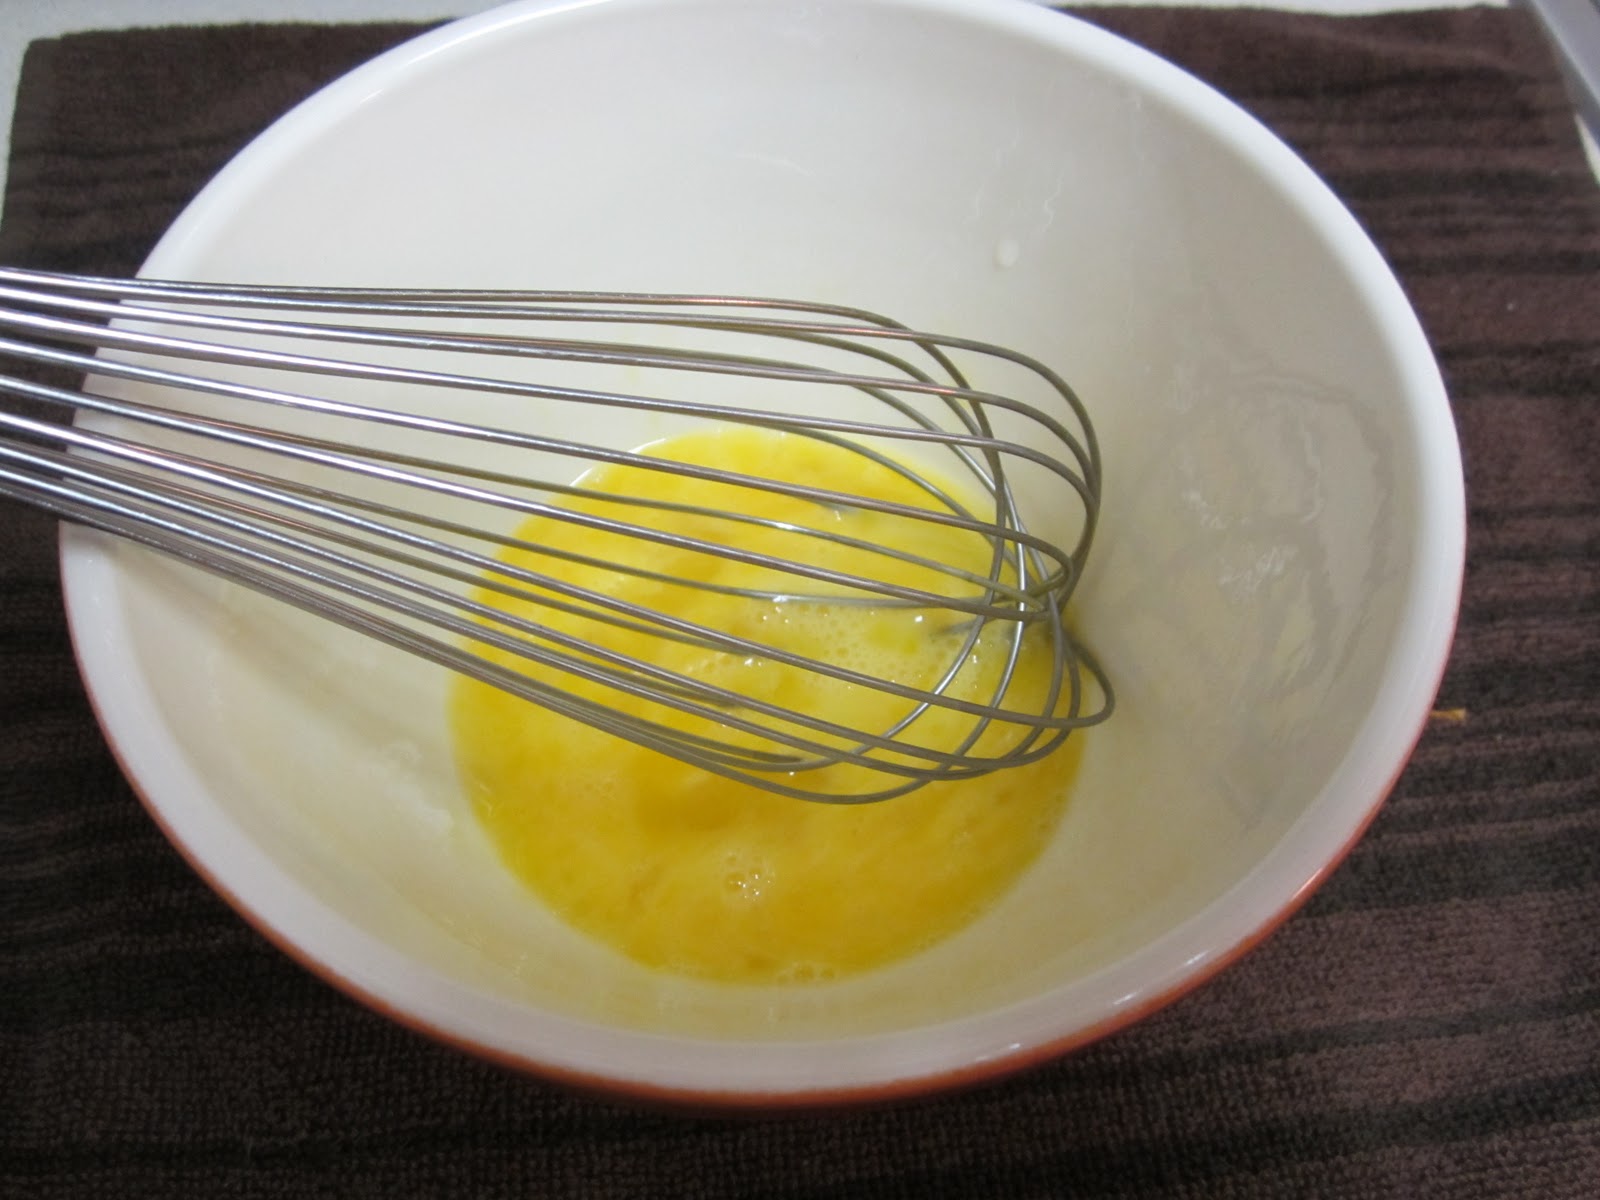
4. Add both sugars, salt, and vanilla extract to butter and whisk until fully incorporated.  Add egg and yolk and whisk until mixture is smooth, about 30 seconds.  Let rest 3 minutes then whisk again for 30 seconds.  Repeat whisking and resting process 2 more times, until mixture is smooth, shiny, and thick.


5. Stir in flour mixture until just combined.  Stir in chocolate chips until no flour pockets remain.

 (Confession: I could eat this right out of the bowl.  I am a cookie.  dough.  fiend.)

6. Divide dough into 16 portions, each about 3 tablespoons per cookie.  Roll each portion into  ball and place on prepared baking sheet, about 2 inches apart.

7. Bake cookies one baking sheet at a time until edges are golden brown but center is still puffy and soft, about 10-14 minutes (11 minutes seemed perfect for me - I like mine slightly gooey in the center).  (This does make very large cookies.  If you don't like your cookies the size of your hand, you could probably just make smaller balls and adjust the cooking time.)

8. Transfer baking sheet to wire rack and cool completely before serving.

Nutritional Information:
Butter, two kinds of sugar, white flour, eggs....  I don't think we need to know more than that.

But since I used dark chocolate chips instead of semi-sweet, my version is healthy, right?  Recent studies show that dark chocolate may contain more antioxidants than red wine or green tea.  So I'm not indulging in dessert; I'm fighting cancer.

So there.


Plus, we didn't actually eat this entire batch of cookies.  The only way I am going to be able to experiment with baking and not gain 20 pounds is to share the love.  After enjoying them at home for a couple of days - off to the hospital with Alex they went this morning! 

Verdict:
I know what you're all thinking: did these cookies live up to their name?  Are they the perfect chocolate chip cookies?  To really consider myself qualified to answer that question, I will of course need to taste every chocolate chip cookie recipe ever invented.

Since that would not be a positive life choice, let's just say that these were really freaking delicious! 

I skimmed several online and cook book recipes to see what might make this recipe stand out, and I think one of the differences is the way the butter is prepared.  So that's something.  But I particularly loved that I could taste both the brown sugar and vanilla in the finished product.  Few things in life are better than brown sugar, vanilla, and chocolate. 

Microwave your cookie for about 15 seconds before serving and you will be in heaven.  Heaven.  Deliriously happy with the melting chocolate concoction in front of you.

Giving these away was not easy.

You know what?  These cookies aren't quite perfect after all.  Because the perfect chocolate chip cookie?  Well, it would have to taste this good and be calorie free.

Obviously.

Sunday, October 30, 2011

Corn Bread

Ah renting....  I am sure that all homes have their quirks, but it seems that when living in a rental, there is a higher than normal incidence of quirky home behavior.  And we, of course, as the tenants are completely dependent upon the whims of the landlord to decide if such quirks need fixing.  Because I'm certainly not going to pay to rewire the townhouse living room so that the TV doesn't have to plug into the only outlet controlled by a light switch.

Apparently the landlord isn't either.

So here I am living with several extra feet of cord winding through my house.  We also have a dishwasher (for which I am grateful, no question) that is controlled by a light switch.

I am so ready to be done renting.

While the switch debacles were quite evident as soon as we moved in, other issues seem to 'materialize' as we go about our daily lives.  Take, for instance, the quirky connection between oven and stove top.

I'm kind of... particular... ok anal... about certain things.

(I come by it honestly.  Have you met my father?)

For example, in every kitchen that I've had since moving out on my own, the tea kettle has always been stored on the rear left burner.

Always.

Do I know why?  Of course not.  But I just can't let myself change that seemingly insignificant detail.

What do my personality quirks have to do with the quirks of my home?  Well it is the specific storage placement of my tea kettle that led us to discover a minor malfunction with our oven.  One evening I was puttering about the kitchen while something or other for dinner baked in the oven.  No big deal, just making the salad, setting the table, cleaning up the cooking mess as I went...  When Alex walks in, stops, and asks if I'm making tea.

"No.  Clearly I'm making dinner.  Who makes tea in the oven?  Besides I never have tea with dinner.  Only in the afternoon with a snack or in the evening after dinner.  Don't you know me at all?"

"Well, then why is there smoke pouring out of the tea kettle?"

Huh?

My first instinct was to assume that I had accidentally turned the burner on.  But a quick check of the stove top revealed that the 'surface heating' light was not on.  No burners were on.  Steam was indeed pouring out of the kettle's spout.  And a quick hovering hand revealed that heat was indeed pouring out of the burner.

Long story slightly less long, it appears that every time the oven is on, the rear left burner gets nice and toasty.... and so does anything sitting on it.  As this does not seem to concern the land lord (it still cooks your food, right?), I now have to remember to move the tea kettle from the rear left burner to any other burner on the stove when using the oven.

Would it be easier to just permanently restore the tea kettle on another burner?  Sure.  Would the world stop turning if I had to, gasp, keep my tea kettle on the rear right burner?  Doubtful.  Does anyone reading this blog think I can be that flexible and logical...?

Yeah, I didn't think so.

So for the next eight months or so my oven pre-heating routine is as follows: open oven, remove pizza stone and extra large baking tray (we have serious storage issues), set both on top of washing machine (I know, glamorous), close oven, move tea kettle from left to right burner, turn dial 1 to bake, turn dial 2 to temperature, wait for little red light to go off.
 (Is it just me?  It doesn't look balanced this way, right?)

But yummy treats like this cornbread (I know it took me a long time to get to the recipe today) are so worth it.  Enjoy!

Recipe: (from Better Homes and Gardens Bridal Edition)

1 cup all-purpose flour
3/4 cup cornmeal
2-3 tablespoons sugar (I used 2 - use 3 for sweeter bread)
2 1/2 tablespoons baking powder
3/4 teaspoon salt
1 tablespoon butter
2 eggs beaten
1 cup milk (I used skim)
1/4 cup cooking oil or melted butter (I used oil)

1. Preheat oven to 400 degrees (refer to my ridiculous routine above).  In a medium bowl, stir together flour, cornmeal, sugar, baking powder, and salt; set aside.

2. Add the 1 tablespoon butter to a 10-inch cast iron skillet or a 9-inch round baking pan.  Place in oven about 3 minutes or until butter melts.  Remove skillet from oven; swirl butter in skillet or pan to coat bottom and sides.  (Diva Note: There was still a lot of melted in butter in pan even after coated.  The recipe didn't say to do so, but I poured off the excess butter.)

3. Meanwhile, in a small bowl combine eggs, milk, and oil.

4. Add egg mixture all at once to flour mixture.  Stir just until moistened.

5. Pour batter into hot skillet or pan.

6. Bake for 15 - 20 minutes, or until toothpick inserted in middle comes out clean.  Cut into 8 wedges.  Serve warm.


Nutritional Information: (per wedge)
Calories: 219
Total Fat: 10 g
     Saturated Fat: 3 g
Cholesterol: 60 mg
Sodium: 390 mg
Carbohydrates: 26 g
Fiber: 1 g
Protein: 5 g
5% DV vitamin A, 12% DV calcium, 8% DV iron

Verdict:
First of all, I so want a cast iron skillet.  Being able to make corn bread in a cast iron skillet would feel so..... authentic.  But as you know, we already have storage issues, so for now the baking pan works fine.

If you like cornbread-Boston-Market-style (so sweet and cakey, it qualifies as two desserts), then definitely go with the three tablespoons (or more) of sugar.  With two tablespoons it was not sweet at all.  This is fine with me.  I like to save my sweets for dessert.  As a side dish goes, this was tasty and a nice treat.  But I'm reserving it for occasional use and / or with extremely light meals to make up for its not-so-uber nutritious nature.

It tasted just like corn bread should with a slightly grainy not too cakey texture.

But it would have been better in a skillet.

Saturday, October 29, 2011

Chicken and Spinach Risotto

It has been awhile since I've blogged.  I have reasons, most of them valid,  I swear.

1. We spent the last two weekends making the drive to Michigan, and I thoroughly enjoyed having other people cook for me.
2. I cooked a lot last week, and so when we returned from Michigan we had enough leftovers to get us through several meals.
3. I couldn't help myself, I had to make Pumpkin Chili again, which didn't leave me much to post about as I've already shared how completely awesome it is.
4. Apparently I've stocked up so many goodies (thank you big batch cooking!) in my freezer that it doesn't seal completely.  Not good.  Must work off what is in stock!

See?  Valid.

But I've been wanting to make this meal for several weeks now and as the last of the must-eat-now leftovers were depleted by the end of the week, it seemed like a perfect opportunity.  This recipe was donated by a friend after my failed Bacon and Spinach Bowties (I'm not linking back to that travesty.  Trust me, it is not worth it.) attempt earlier this month.  This recipe was much more successful, and I am so glad she shared!

Recipe:

1 T oil
1 lb boneless chicken breast, cut into bite size pieces
4 cups baby spinach
1 1/2 c minute rice uncooked; (I use brown minute rice)
1 c grape tomatoes
1 can (10 1/2 oz) chicken broth
1/2 c water
1/4 c Parmesan cheese
optional: add pine nuts

Heat oil in large deep nonstick skillet on medium heat.
Add chicken; cook & stir 10 min. or until chicken is cooked through.
Add spinach, rice, tomatoes, broth, and water; mix well.
Bring to a boil. Reduce heat to low and cover. Simmer 5 min, stirring occasionally.
Stir in Parmesan cheese.
Makes 4 servings

optional: Substitute 1/2 c dry white wine for 1/2 c of broth.  
Diva Notes: I cut the recipe in half because I really don't like reheated spinach.  It was the perfect size dinner for two.
I definitely went with the optional white wine substitution.  
And instead of grape tomatoes, I used the new variety Sunburst tomatoes because I had a double coupon deal for them last week.  Super tasty!  Great in salads.  Great to munch on.  Try them!  
Also, cutting chicken can be such a pain.  Slimy.  Wet.  Germy. Gross.  Please know that when I was a teenager and would help my mom in the kitchen, I did whatever was possible to avoid touching raw meat.  Including using plastic Ziploc bags as gloves.
Oh yes.  Picture that.  It's a little trick I learned in 9th grade biology because our teacher refused to allow us gloves for dissection, and neither of my lab partners would go near dead animals with a scalpel.  I didn't mind the cutting so much but I was not about to go to lunch after touching dead animal flesh soaked in formaldehyde without protection.
But I digress.  The point is, I have matured significantly in my attitude toward raw meat, but it's still not my favorite part of the cooking process.  I read on one blog or another that to make cutting chicken easier, leave it in the freezer for 30 minutes first.  Do this!  It really was a breeze, no Ziploc bag protection required.
Nutritional Information:
Calories: 368
Total Fat: 12.7g
     Saturated Fat: 3.4 g
     Polyunsaturated Fat: 1.6 g
     Monounsaturated Fat: 6.5 g
Cholesterol: 76.9 mg
Sodium: 513.4 mg
Potassium: 667.4 mg
Total Carbohydrates: 27.4 g
     Dietary Fiber: 1.8 g
     Sugars: 0.4 g
Protein: 34.7 g
Not only does this dish include super-healthy spinach, but it also contains tomatoes, which are good for you on their own, but did you know that for optimal absorption of iron into your body, you should consume something acidic at the same time?  And if I'm going to eat something like spinach just because it's super good for me, I darn sure want to get the most iron that I can out of it.  Ta-da!  Spinach + tomatoes = perfect combination!
Verdict:
As a recipe possibility to make spinach more palatable this was a victory.  Because guess what?  The spinach didn't taste like spinach.  It tasted like chicken!  Both the spinach and the rice took on the flavor of the broth in which they were cooked.  The tomatoes retained their own distinctive flavor for little bursts of sweetness throughout the meal.  And, bonus, this was quick and easy.  A meal that can go from stove top to table in 20-30 minutes is every dinner chef's best friend.  And in one pan no less!
I'm no fortune teller, but I see this making many reappearances on our dinner table in the future.

Wednesday, October 26, 2011

Tilapia in the Crock Pot

Fish?  In the crock pot?

Yes, you read that correctly.  Apparently it is possible.  It was a random, undirected path that led me to this recipe.

I spend some time just about every morning (with my coffee, ahhh...) checking out a few of my favorite food blogs, and inevitably one of those blogs links to another blog with reference to some tidbit or other that sounds too good to pass up, so I click on the new blog, which inevitably leads to another blog...

You can see where this is going.  This is why I have close to twenty blogs that I check regularly.  And it's not even November.  Holidays and food blogs?

Yikes.

But to stay focused on the task at hand: by following one blog to another (no idea of the original path anymore), I found this lady that made a name for herself cooking in her crock pot for 365 straight days.  As you can imagine soups, stews, chilies, and roasts would get a bit old after, oh day 80ish I'm guessing, so she had to get pretty creative.  According to her site, you can cook pretty much anything in a crock pot.

It seemed like a good time to try a new way of cooking fish when grilling isn't really an option.   

Enter Tilapia in the Crock Pot.

Recipe: (from A Year of Slow Cooking)
3 or 4 filets of tilapia (or other white fish)
1/4 cup mayonnaise (I used Reduced Fat with Olive Oil)
1/2 cup shredded cheese (cheddar, parmesan  etc.  She suggests parmesan as the tastiest option, which is what I used.)
juice of 2 lemons
4 cloves garlic, chopped
salt and black pepper to taste

Mix mayonnaise, cheese, lemon juice, garlic, salt, and pepper in a bowl.


Lay out a piece of foil - one piece of foil for each piece of fish.  Rub mixture on both sides of fish and lay in foil.

Enclose foil into a packet around fish.  Lay foil packets into crock pot.

Cook on low for 2-4 hours (I cooked mine for 3).

Nutritional Information: (calculated for 16 ounces of tilapia = 4 servings at Spark Recipes)
Calories: 220
Total Fat: 9.7g
     Saturated Fat: 2.9 g
     Monounsaturated Fat: 3.1 g
     Polyunsaturated Fat: 1.1 g
Cholesterol: 69.9 mg
Potassium: 387.5 mg
Sodium: 395.5 mg
Total Carbohydrates: 5.5 g
     Dietary Fiber: 0.2 g
     Sugars: 1.6 g
Protein: 28.1 g

Verdict:
Just because you can do something, does not mean that you should.  Although the flavor of the fish was good (a little tart, a little garlicky), Alex and I both thought that it was a little.... soggy.  There really is no other word for it.  There were pools of liquid in the foil packets.  When I removed the fish from the foil packets, they literally fell apart.  And I probably could have wrung each piece out like a washcloth.  Not my favorite way to eat a piece of fish.  Might I try this recipe again but bake it in the oven?  Possibly.  I think that it would cook a bit dryer anyway.  But I think all future plans of cooking fish in a crock pot have been hereby abandoned.

The best part of the meal?  Making herb roasted butternut squash for the third time this fall!   With a slight twist this time, cinnamon and nutmeg as the seasonings, it made for a delightful almost desserty accompaniment to the meal.

And really, you can't go wrong with a super-food vegetable that tastes like dessert.

I know, I know, there's nothing green on this plate, but we did have salad, so that's something!

Monday, October 24, 2011

Banana French Toast

I didn't cook much over the weekend because Alex and I traveled to Michigan for another interview, and when I'm home, I am always happy to let my mom and dad do the cooking. 

(Well, I did make my 'now-famous' Pumpkin Nut Bread with Dates to share at a family brunch, but not much to blog about there as I already did!  In other news, I think I will be recipe-repeating my Pumpkin Chili later this week.  It's addictively good, and we ate our last frozen batch last week.)

However, a couple weeks ago, I saw this idea on a friend's Facebook page, tried it, blogged about it, and never posted it because I was in the midst of a new-recipe whirlwind!  This will have to tide you over until my refrigerator is depleted of last week's leftovers and restocked with groceries...


Recipe:
1 cup milk
3 ripe bananas
add a tad of vanilla and a tad of cinnamon for flavoring (optional)
Mix until fully blended.
This should make enough to coat up to 8 slices of bread.  Make sure each slice is fully coated in the 'batter' and cook on a griddle, making sure to flip and cook the second side as well.
Drizzle with syrup.  Serve with a side of protein - we happened to have bacon on hand.  Enjoy.

Nutrition Information: (calculated at Spark Recipes)

The total nutrition value will vary greatly depending on the type of bread you use, so I only calculated the values for the banana mixture - assuming the amounts above are used to dip 8 pieces of bread and skim milk is used, each piece of french toast will be dipped in an additional:

Calories: 51
Total Fat: 0.3 g
Cholesterol: 0.6 g
Sodium: 16.4 mg
Potassium: 226 mg (lots more than regular french toast!)
Total Carbohydrates: 11.9 g
Protein: 1.5 g

*This could easily be made into a vegan recipe by substituting soy or almond milk for regular and choosing an appropriate bread.

Verdict:
Love!  It was much sweeter than typical french toast; in fact, I'd consider eating it without syrup in the future.  Even though I really do love syrup.  It definitely had a strong banana flavor and seemed like a great way to get in an extra fruit serving and load up on potassium.  It was much moister than I remember typical french toast being - but I may have done something wrong since I don't usually cook french toast....  But still, it didn't bother me.  We will be making again!

Bonus Story:
Alex and I have reached a syrup impasse.  We just cannot agree.  I have always grown-up using 100% pure maple syrup. 

Alex prefers....  (shudder) Mrs. Butterworth's. 

Out of interest, I read the ingredients on his bottle.  There were at least 20, 75% of them unpronounceable, and none of them were actually maple syrup.  Then I read the ingredients on my bottle. 

Maple syrup.  End list.
Ridiculous as it seems, I think we will always have to be a 2-syrup bottle household as there really is no happy medium here.

Friday, October 21, 2011

Stuffed Green Peppers

Don't those green peppers look delightful?

Confession: I do not actually love green peppers.  It's not that I dislike them; it's just that when picking my perfect pepper, I aim more for the red-orange-yellow variety.  However, at Big Red's Orchard last weekend, the red-orange-yellow peppers were looking a little sketchy.  The green peppers were screaming, "Buy me!  Buy me!"

Which I obviously did.

This left me with one teeny-tiny little problem: what to do with four green peppers before they spoil when you don't actually like to eat them raw.

Enter - my first experience with stuffed peppers!  Correct me if I'm wrong here, mom, but I don't recall ever eating stuffed peppers before (And if I'm not wrong - why is that?  Just curious.), so I was recipe searching blind.  I found several but this one from food.com looked easy.

And to be honest, I liked that you cut the peppers in half.  Some of those recipes where you cut a hole in the top just looked hard.  And dangerous.  Me.  Sharp objects.  Enough said.

Recipe:
4 green peppers (Ah, this recipe is meant to be!  That is exactly how many peppers I bought.)
1 lb. ground beef
1/2 medium onion, chopped
2 cloves garlic, minced
1 tsp. italian seasoning
1/2 tsp. salt
1/4 tsp. pepper
1 cup white rice, cooked
1 cup brown rice, cooked
15 oz. can tomato sauce
1 cup mozzarella cheese, shredded

(Diva Note: I made a few modifications both out of choice and necessity.  I used ground turkey breast to reduce the fat and calories.  I didn't have italian seasoning, so I used oregano.  I prefer brown rice to white, plus it's all I have, so I used 2 cups brown.  I didn't have quite a full cup of mozzarella, so I used mozzarella and cheddar.  I'm a rebel like that.)

1. Cut off tops of peppers and cut in half lengthwise.  Remove seeds.
2. Put peppers in saucepan and cover with water.  Heat to boiling and cook for 10 minutes.
3. Meanwhile cook ground beef, garlic, and onions until browned. Drain (if you are using ground turkey, there won't be much to drain).
4. Add rice, tomato sauce, and seasonings to ground meat.  Cook on low until warmed through.  Place boiled green peppers into oven-proof casserole dish.  Spoon meat mixture into peppers (about 3 tablespoons per pepper).
5. Cover loosely with foil and place in 350 degree oven for 25 minutes.
6. Remove from oven, cover with your choice of shredded cheese, return to oven, and cook (uncovered) for 5-10 minutes, or until cheese is melted and bubbly.

Nutritional Information:

(Diva Note: This is the nutrition information provided by food.com for the recipe as written.  Substituting ground turkey breast will lower the fat and calories.  If you wanted to get crazy, leave out the cheese.  Also, they claim this makes 6 servings but.... do the math. 4 green peppers, cut in half = 8 halves.  If you are going to make 6 servings out of that, people are going to have to eat, what 3/4 of a pepper?  That just sounds like a pain.  Honestly, I ate half a pepper stuffed nice and full, and it was plenty.  So although the nutrition information here will not sound all that healthy, remember that you can healthify it, and serving size matters!  By  the way, if you are choosing ground turkey as an option over ground beef for health reasons, look for ground turkey breast.  Ground turkey includes white and dark meat, so it is not much leaner than lean ground beef.)

Calories: 490.4
Total Fat: 16.9 g
Saturated Fat: 7.1 g
Cholesterol: 66.1 g
Sugars: 5.8 g
Sodium: 742.1 g
Total Carbohydrates: 59.6 g
Dietary Fiber: 4.5 g
Protein: 24.5 g

(Diva Note: According to Spark Recipes, dividing the recipe into 8 servings and making the modifications above decreases the calories to just under 200 and the fat to 3.5 grams.  Wowza.)

Verdict:
Loved it!  Loved the smell.  Loved the taste.  I mean really, you can't go wrong with meat, cheese, tomato sauce, and Italian spices.  It's like pizza without the crust. 
Doesn't it just look delightful?

We had just a bit of roasted butternut squash left over for a fall-inspired side dish.

I thought that the green peppers might taste overcooked.  I don't like my cooked veggies to be mushy, and they were mushy but not in a bad way - more in a melt in your mouth amongst the cheesy, meaty deliciousness way.

 Hubby and I were both members of the clean platter club!

(Although, we do have quite a bit of leftovers....  Something to look forward to as we make the I-75 five hour trek southward Sunday afternoon...)